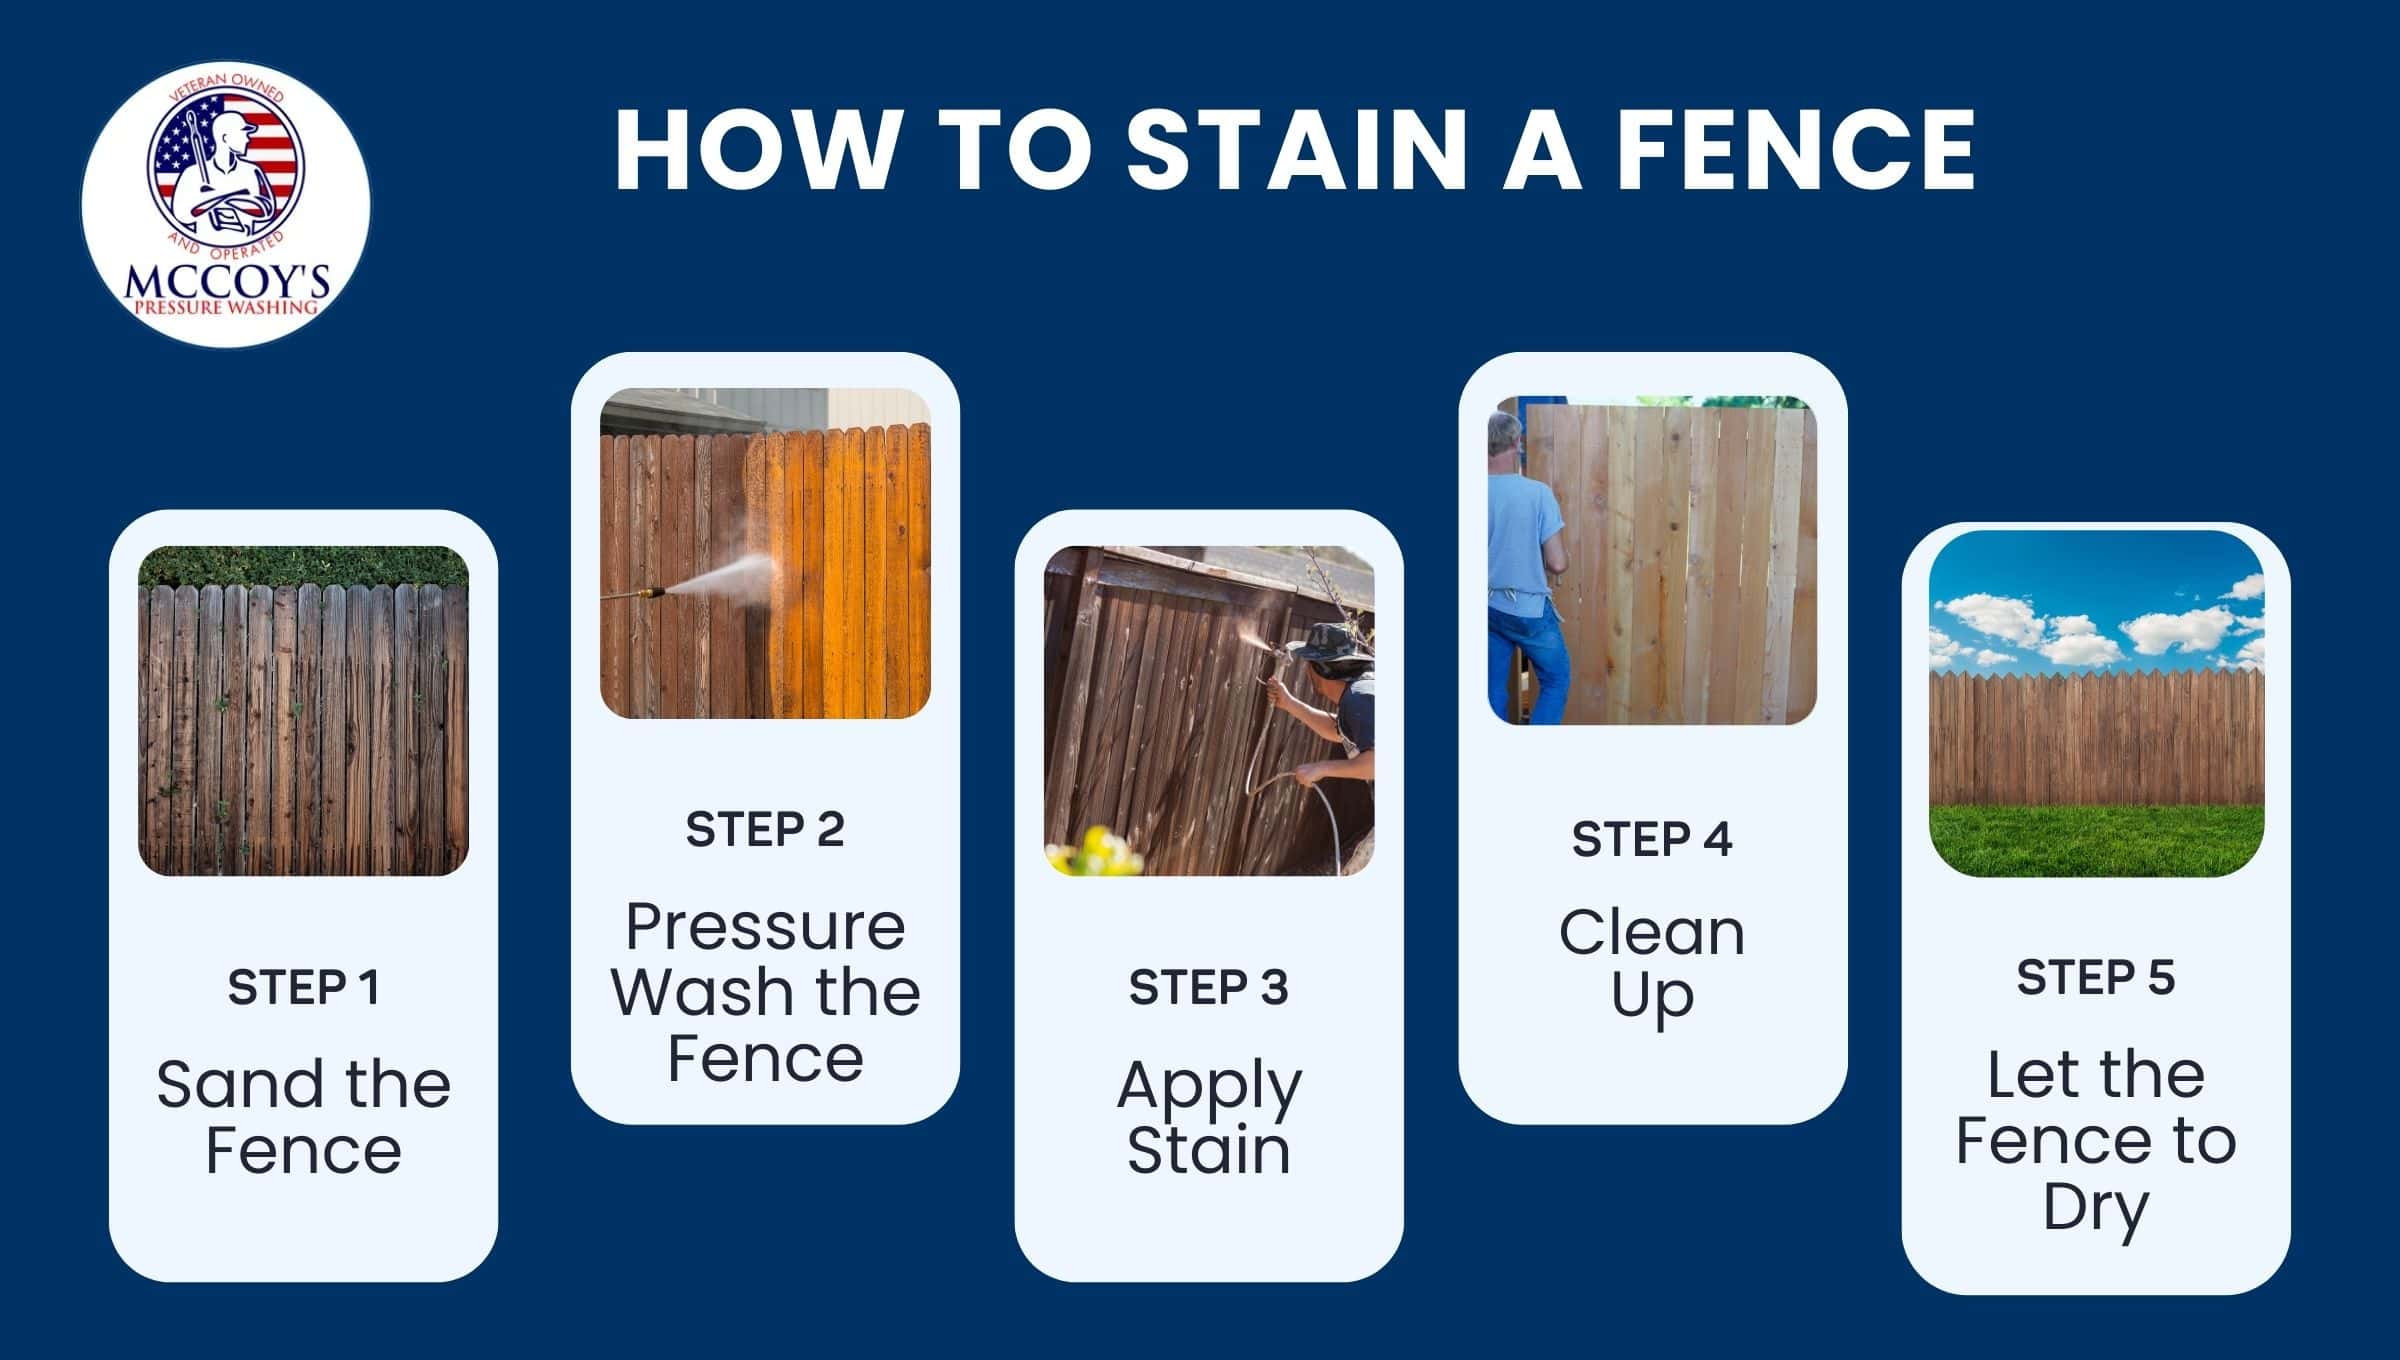
Fence staining is essential for protecting it from the elements, preventing rot and decay, and extending its lifespan. The 5 simple steps to stain your fence are – Sand, pressure wash, apply stain, clean up, and dry. A beautifully stained fence boosts your home\’s curb appeal and creates a welcoming outdoor space. By reading our detailed guide on \”how to stain a fence\”, you\’ll be able to stain your fence like a pro, even if you\’re a beginner!
Requirements to stain a fence:
|
Tools |
Materials |
|---|---|
|
Sandpaper (medium-grit) |
Stain (choose your desired color) |
|
Pressure washer |
Safety glasses and gloves |
|
Brush, roller, or sprayer |
Cleaning cloths |
|
Paint tray (if using a roller) |
Wood cleaner/brightener (optional) |
Step 1. Sand the Fence
Before you start the staining process, it\’s important to prepare the surface. It involves sanding the fence to remove rough patches, old stains, or dirt that could prevent the new stain from adhering properly.
Don\’t worry, it\’s not as complicated as it sounds. All you need is medium-grit sandpaper and a bit of patience. Work your way around the entire fence, paying extra attention to areas with visible wear and tear. This simple step will ensure a smooth and even application of the stain.
Step 2. Pressure Wash the Fence
Now it\’s time to give your fence a thorough cleaning. Pressure washing removes any remaining debris and ensures a smooth surface for the stain.
Start at the top of the fence and work your way down, using a wide spray pattern to avoid damaging the wood. Let the fence dry completely before moving on to the next step.
Step 3. Apply Stain
Choose the right stain. Consider the type of wood your fence is made from, the desired color, and the level of protection you need. For most fences, a semi-transparent or solid stain is a good choice. You can apply the stain using a brush, roller, or sprayer, depending on your preference. Start at the top and work your way down, applying an even coat to all surfaces.
Step 4. Clean Up
Once the stain has had time to soak in (follow the manufacturer\’s instructions), it\’s time to clean up. Wipe away any excess stain with a clean cloth and dispose of any used materials properly. Cleaning your tools promptly will make future fence-staining projects a breeze.
Step 5. Let the Fence to Dry
Patience is key at this stage. Allow the stain to dry completely before allowing any foot traffic or placing objects against the fence. Drying time will vary depending on the type of stain and weather conditions, so consult the manufacturer\’s instructions or professional fence staining companies for specific guidance.
If you\’d prefer to leave fence staining to the professionals, McCoy\’s Deck Staining and Pressure Washing offers expert fence staining services throughout Tennessee, including Nashville, Murfreesboro, Franklin and Brentwood. Our team will ensure your fence is beautifully stained and protected, saving you time and effort.
Watch our fence staining video below for a visual guide to the process!
FAQs on Staining a Fence
What is fence staining?
Fence staining is the process of applying a protective coating to a wood fence. Stain enhances the fence’s appearance, protects it from the elements, and extends its lifespan.
What are the things you need to check before staining your fence?
Before you begin, identify the best time to stain your fence and check the weather forecast to ensure several dry days ahead. Choose a stain color that complements your home’s exterior. Prepare your application tools (brush, roller, or sprayer), and if you are spraying, test it to ensure it’s working properly.
Can I stain an old fence?
Yes, you can stain an old fence, but it requires additional preparation. You may need to strip away the old stain, repair any damaged wood, and thoroughly clean the surface before applying the new stain.
Is it better to spray or roll stain on a fence?
Both methods have advantages. Spraying is faster and can be more even on rough surfaces. Rolling is less messy and gives you more control. The best choice depends on your personal preference and the specific characteristics of your fence.
What lasts longer on a fence, paint or stain?
Stain generally lasts longer on a fence than paint because it penetrates the wood rather than sitting on the surface. Stain is also more flexible, so it’s less likely to crack or peel as the wood expands and contracts with temperature changes.

